NB! If you are a teacher or pupil, a private user account is not necessary. Teachers and pupils can use digital textbooks through the school's Opiq account, which is managed by an administrator in each school. Contact your school to obtain an Opiq account and use digital textbooks. A parent can access Opiq through their child's account.
For additional information contact info@starcloud.ee or call the phone number +372 5323 7793 (Monday to Friday 9am-5pm). Follow also our Facebook page.
For whom the private user account is meant for?
The private user account is intended for those who does not have access to Opiq by the school, as well for university students or simply curious people.
If the school does not use Opiq or does not allow access to the pupil for any reason, the pupil can start using Opiq as a private user. An Opiq account with the private user role can be created here.
How to start using Opiq as a private user?
Both those who do not yet have an Opiq user account and those who have an Opiq user account but use Opiq as a teacher, pupil or school administrator can use Opiq as a private user.
Adding the private user role to an existing user account
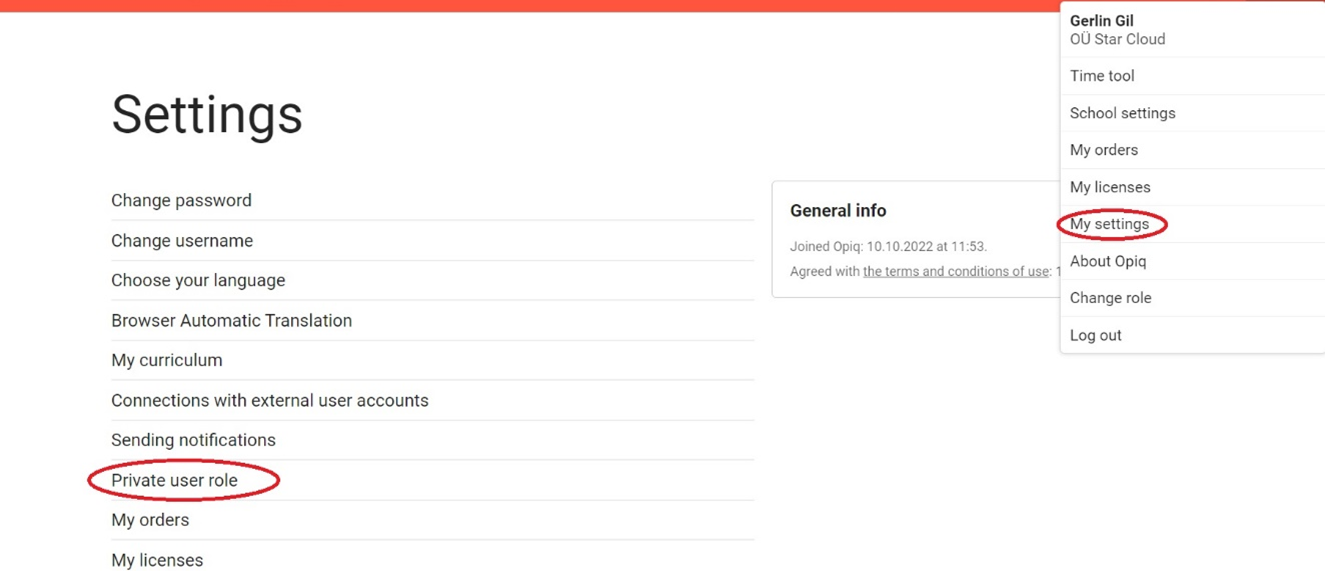
- Log in to Opiq.
- Click on your name on the top right and open the “My settings” page.
- On the settings page, select “Private user role”.
- Click on the "Create private user role" button. A private user role will be created for you, and in the future, you can also use Opiq as a private user.
Adding the private user role to a new user
- Click on this link - Create private user.
- Select "I do not have an Opiq account, I want to create it", agree to data processing and choose how you want to create an account. You can create an account with your email address, which becomes your Opiq user ID, or you can create an account with an ID card, mobile ID or your existing HarID, Facebook or Google account. If you create an account with an ID card, mobile ID, HarID, Facebook or Google, you no longer need to enter a separate user ID and password to log in to Opiq, as it is enough to have identified yourself in the external system with which you created an Opiq account.
- Follow the further instructions.
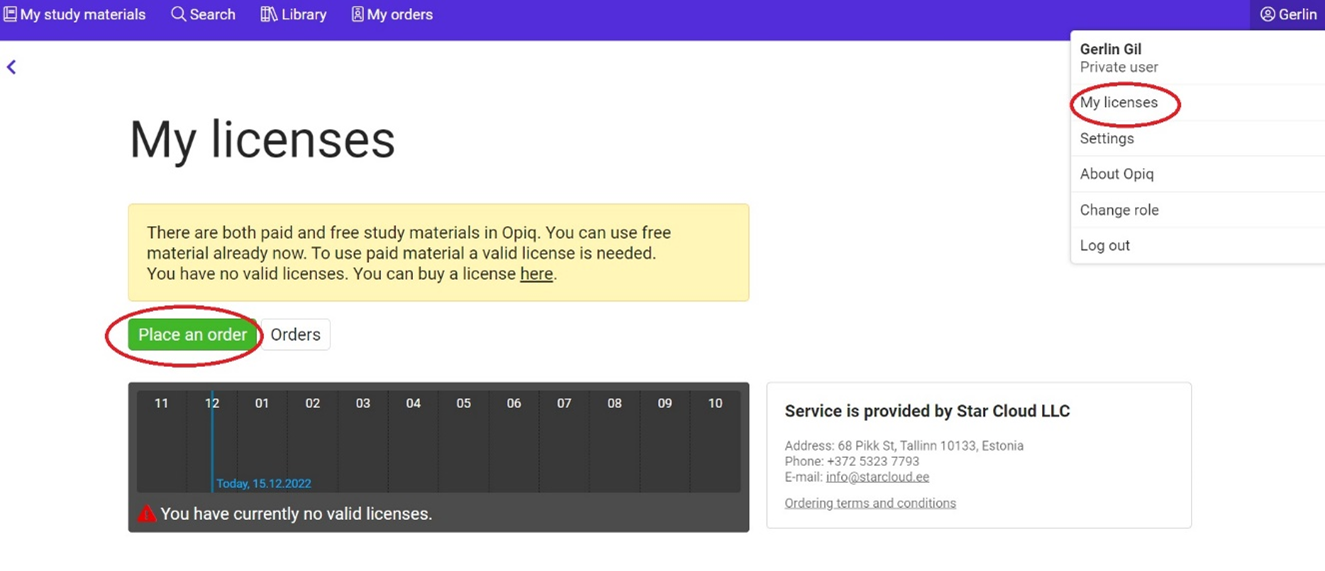
License
A license must be ordered to use the textbooks in Opiq library. The license of which package to order depends on which textbooks you want to use. The order can be placed on the "My licenses" page, which can be accessed from the menu that opens by clicking on your name. You can pay for the order with a bank link, and you can start using the study material immediately after payment.
Private users’ front page
Home page of a private user without a valid license
On the home page of a private user without a license, the block "My study material" can be seen on the left side, under which there is a text in a yellow box, which indicates there is no currently valid private user license. At the end of the text there is a link that you can click on to buy a license.
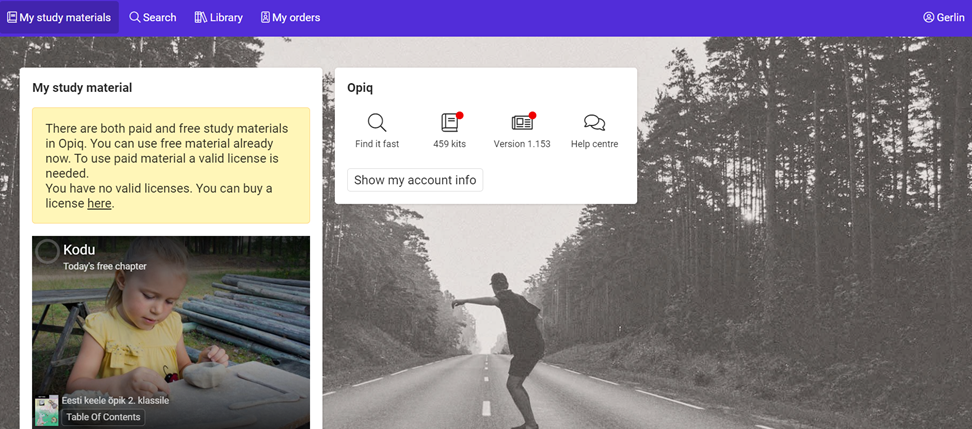
On the front page, under the block "My study material", there is also a shortcut to the demo chapter, where a link to a random textbook chapter is shown, which can be accessed for free. The screenshot shows that it is possible to read the chapter "Kodu" in the 2nd grade Estonian language textbook for free.
Opiq direct references
On the dashboard, in the "Opiq" block, the user can see useful shortcuts to digital textbooks library and user guides pages.

- “Find it fast” takes you to search page.
- Book icon, under which you can see the total number of digital textbooks in Opiq. If the user has not visited the resource after a new digital textbook was added there, there is a red dot next to the icon. By clicking on the icon, you can see the Library of digital textbooks, the most recently added digital textbooks are automatically shown at the top of the list.
- The link with the version number takes you to the Opiq platform updates overview. If the version has been updated and the user has not visited the version notes page yet, there will be a red dot next to the Opiqu version number.
- "Help centre" leads to the user guides page, which contains references to the user manuals of the school administrator, teacher, pupil and private user.
- “Show my account info” - by clicking this button, the user can see who they are logged in as and what interfaces they have.
Front page of a private user with a valid license
After purchasing the license, the private user's front page will continue to have Opiq and "My study material" blocks.
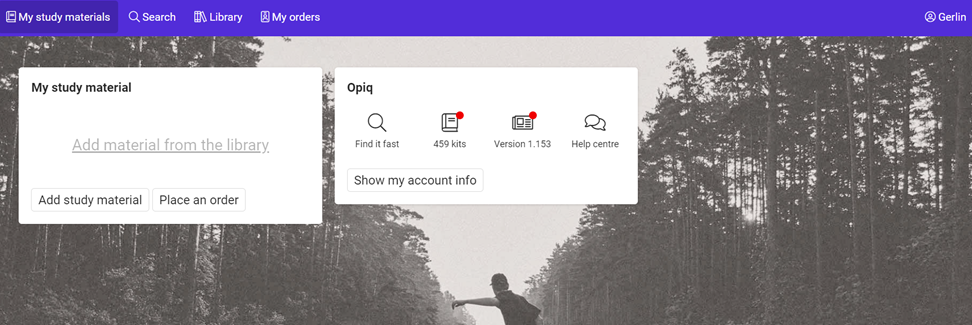
Here is the link “Add material from the library”, which takes to the library, where you can choose a needed study kit, in the table of contents you can press the button “Add too my study materials”.

If this is done, you can find a direct link to the study kit in the "My study material" block on your front page or by clicking on the link "My study materials" in the menu bar above. In this way, direct links to any number of study kits can be added to the front page.
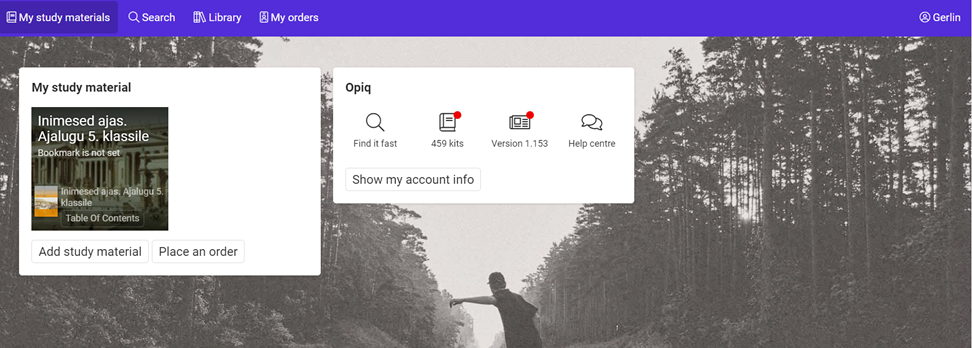
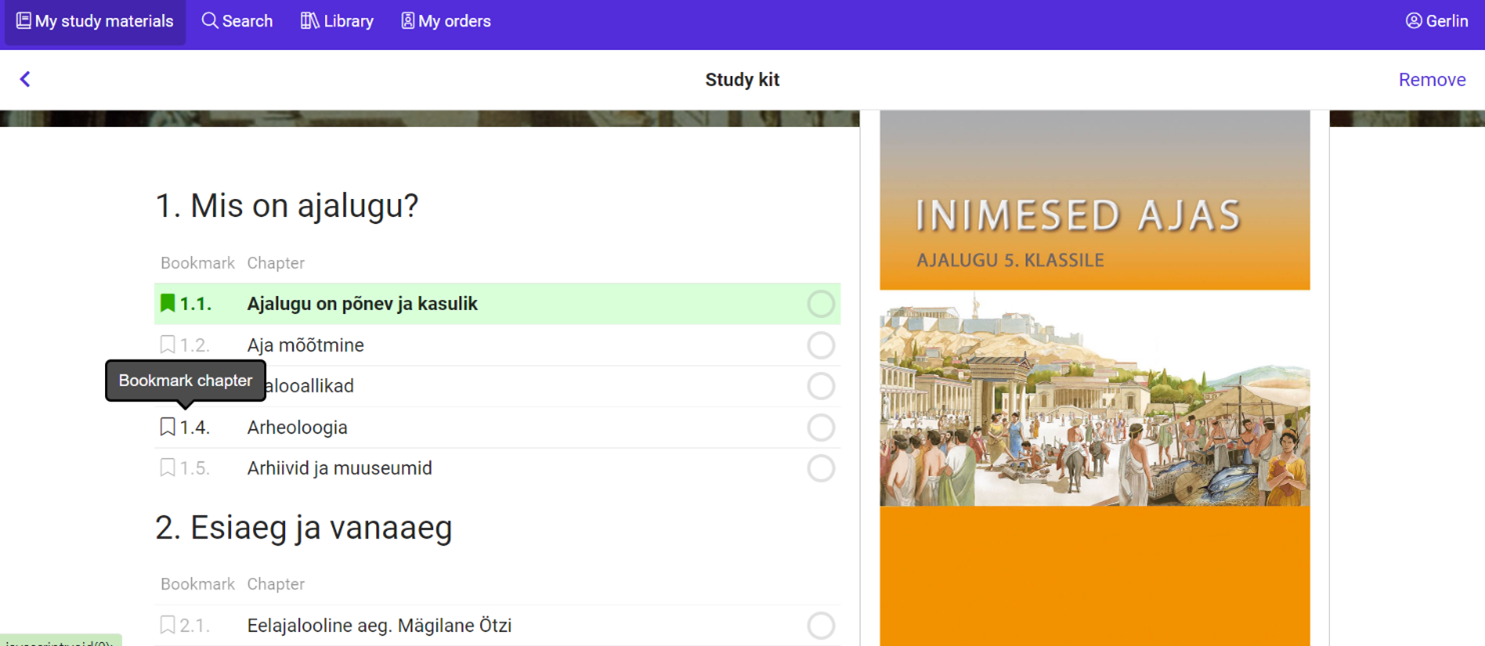
By default, the link on the front page refers to the first chapter of the study kit, but other chapters can also be bookmarked in the table of contents of the textbook, and in this case the link on the front page leads to the chapter that has been bookmarked.
Learning in Opiq
Library
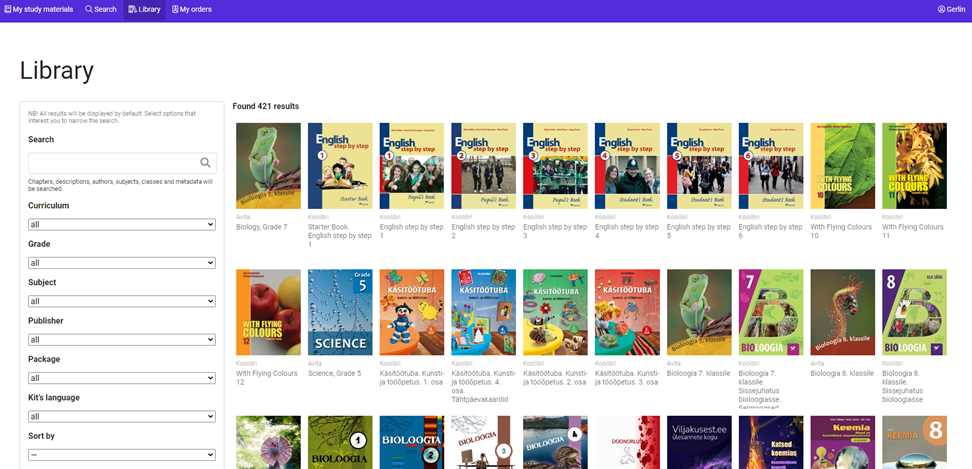
All study kits found in Opiq are in library. The link to the library can be found in the top menu bar on the front page of the private user.
A private user has access to all the textbooks in Opiq's Library that belong to the package for which he has purchased a license.
Textbook
The private user has access to the textbook chapters. Each chapter of the textbook offers the following options.
Solving tasks in the chapter
The user can solve the tasks in the chapter, have them checked automatically or save the answers.
Coloring and commenting on the textbook text
The user can color and comment on the textbook text. To do this, mark the text with the mouse or on a smartphone with your finger and select the marking color or commenting option in the opened menu. What you have done is saved, and when you reopen the chapter, the marking and comments are still there.
Adding files, links, or text to each section
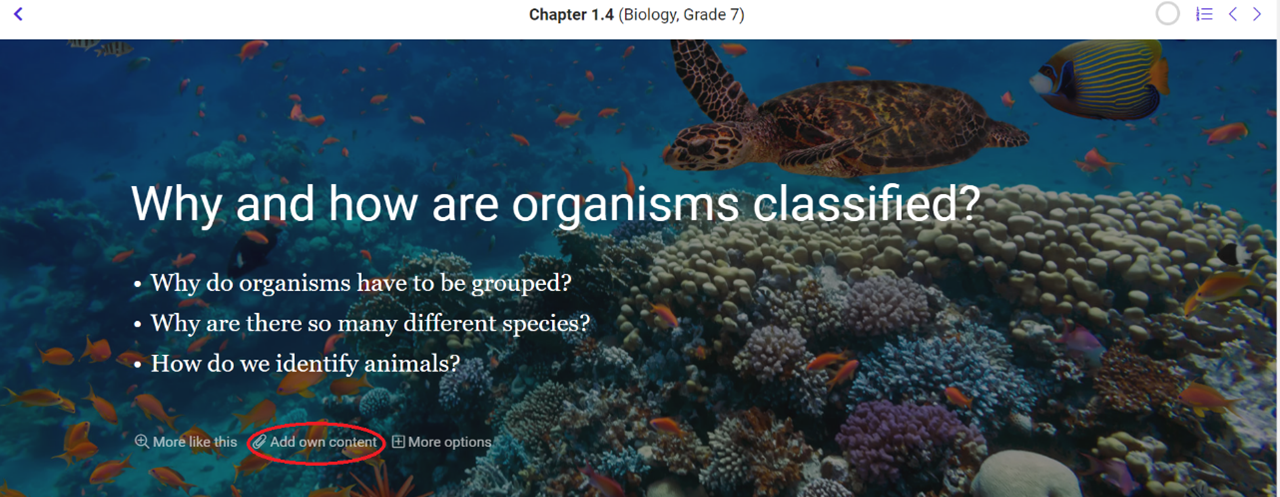
You can add files, links, or text to each section. To do this, click on the "Add own content" link.
Searching content that is related to a section
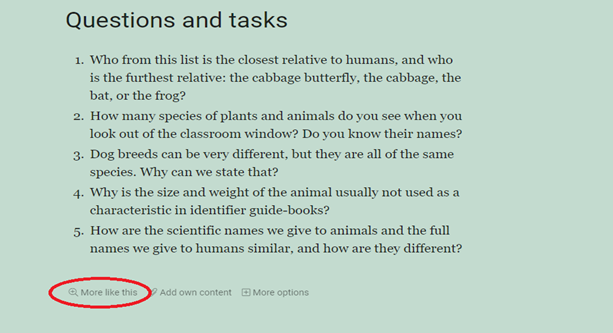
Each section has a “More like this” link. By clicking on it, the material related to the content of this section will be searched in earlier and later materials of the same subject, as well as in other subjects. In this way, you can find easier or more difficult material on the same topic.
Copying a section link or reporting a mistake
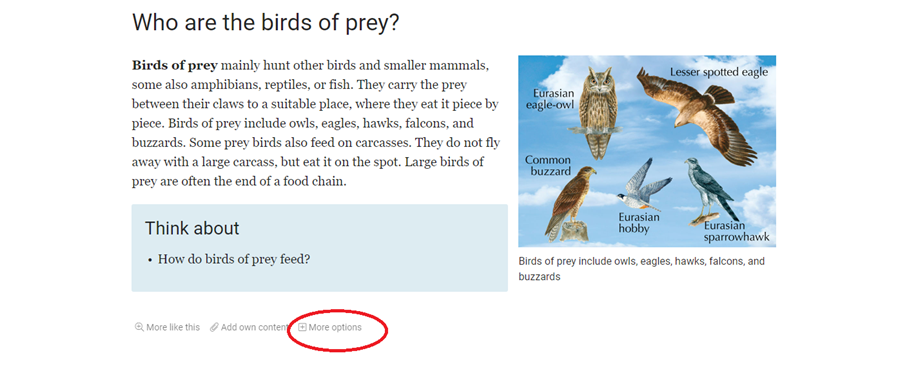
At the end of each section, there is a link "More options" which offers two options:
- "Copy link"- will copy a link to the clipboard that points to that section.
- “Report Mistake” - by reporting a mistake you can point out if you find any mistakes in the text. This way the editors of the text can take an overlook and fix the problem.
Search
The quickest and most efficient way to find learning content in Opiq is using the search page. You can access the search page by clicking on the text "Search" with a magnifying glass in the menu bar. A private user can search the chapters of all works in the Opiq archive and study sets in the archive. If you want to find an exact word or phrase, put it in quotation marks.
Chapter search
Searches the contents of all chapters of all study kits in Opiq's library, including in-chapter assignments. Search results are displayed with section precision. After finding all the search results, the results can be narrowed down using class and subject filters.
Library search
Searches the table of contents and description of all study kits in Opiq's library. If no search term is entered, all works from the collection will be displayed. Results can be filtered by class, subject, publisher, package, and language of the work.
Connections with external user accounts
For easier login, the user can interface his Opiq account with his mobile ID, ID card, HarID, Google or Facebook account. To do this, click on the "Connections with external user accounts" link on your settings page and then add an interface to the external environment. Once this is done, you do not need to enter your username and password to log in to Opiq in the future, it is enough to click on the logo of the corresponding external environment in the login window.
For example, if the user has added an interface with Google and is currently logged in to a Google account, it is enough to click on the Google logo on the Opiqu login page to immediately log in to Opiq.
Additional information
For additional information contact info@starcloud.ee or call the phone number +372 5323 7793 (Monday to Friday 9am-5pm). Follow also our Facebook page.
- Palvelun tarjoaa Star Cloud OÜ